> ## Documentation Index
> Fetch the complete documentation index at: https://moonshot.app/llms.txt
> Use this file to discover all available pages before exploring further.
# Simple app
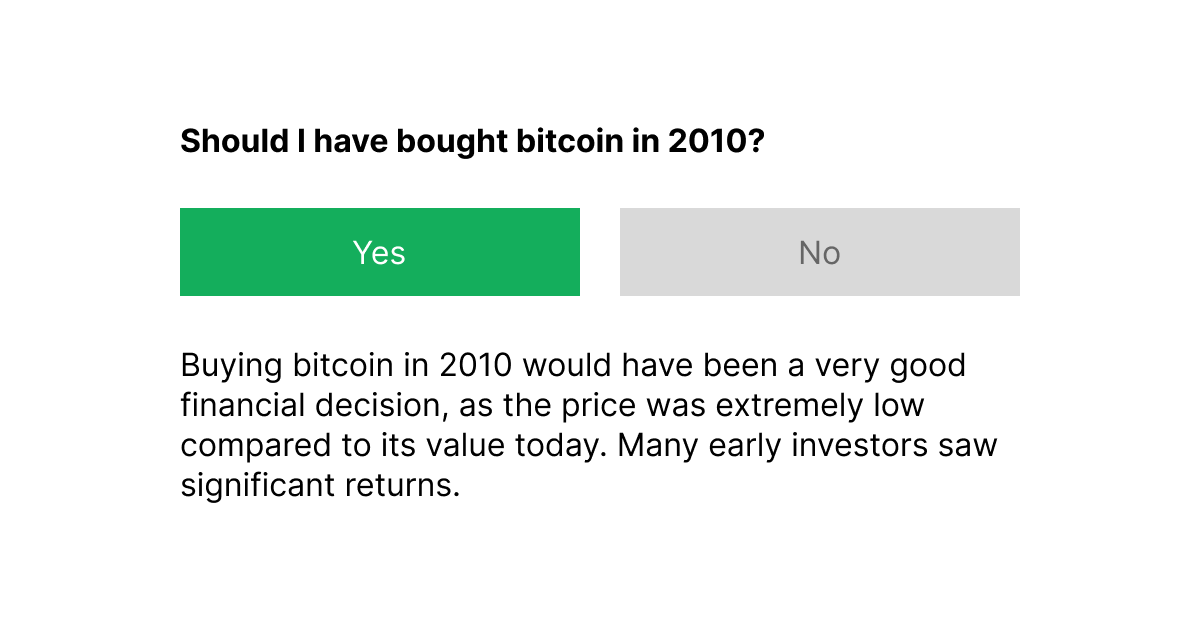
> Design an AI product that tells you if something is a good idea
This guide assumes you've run Moonshot AI Designer in Figma and added your OpenAI API key as described in the [Quickstart guide](/quickstart).
## What we'll build
 ## Steps to reproduce
After a few builds these steps will become second nature. Once setup, you'll only need to update your prompt to see how your design responds to AI.
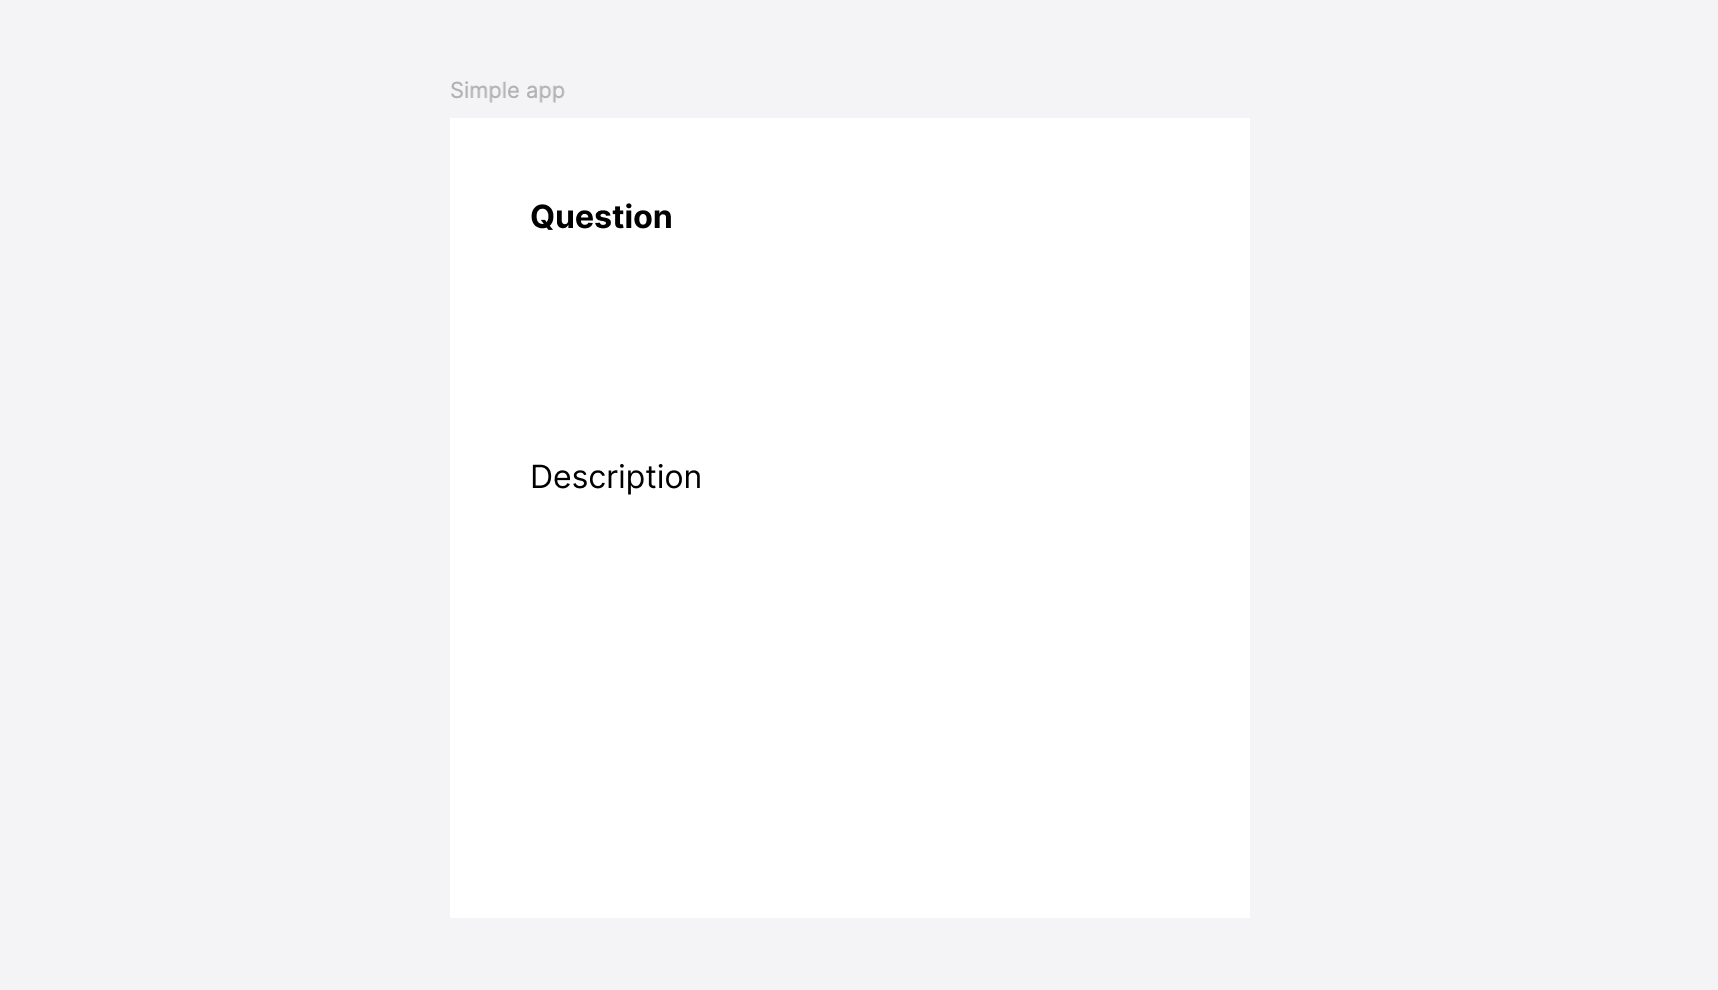
Add text placeholders for the question and reasoning. Make sure to name your text laters appropriately to make syncing data easier later on.
## Steps to reproduce
After a few builds these steps will become second nature. Once setup, you'll only need to update your prompt to see how your design responds to AI.
Add text placeholders for the question and reasoning. Make sure to name your text laters appropriately to make syncing data easier later on.
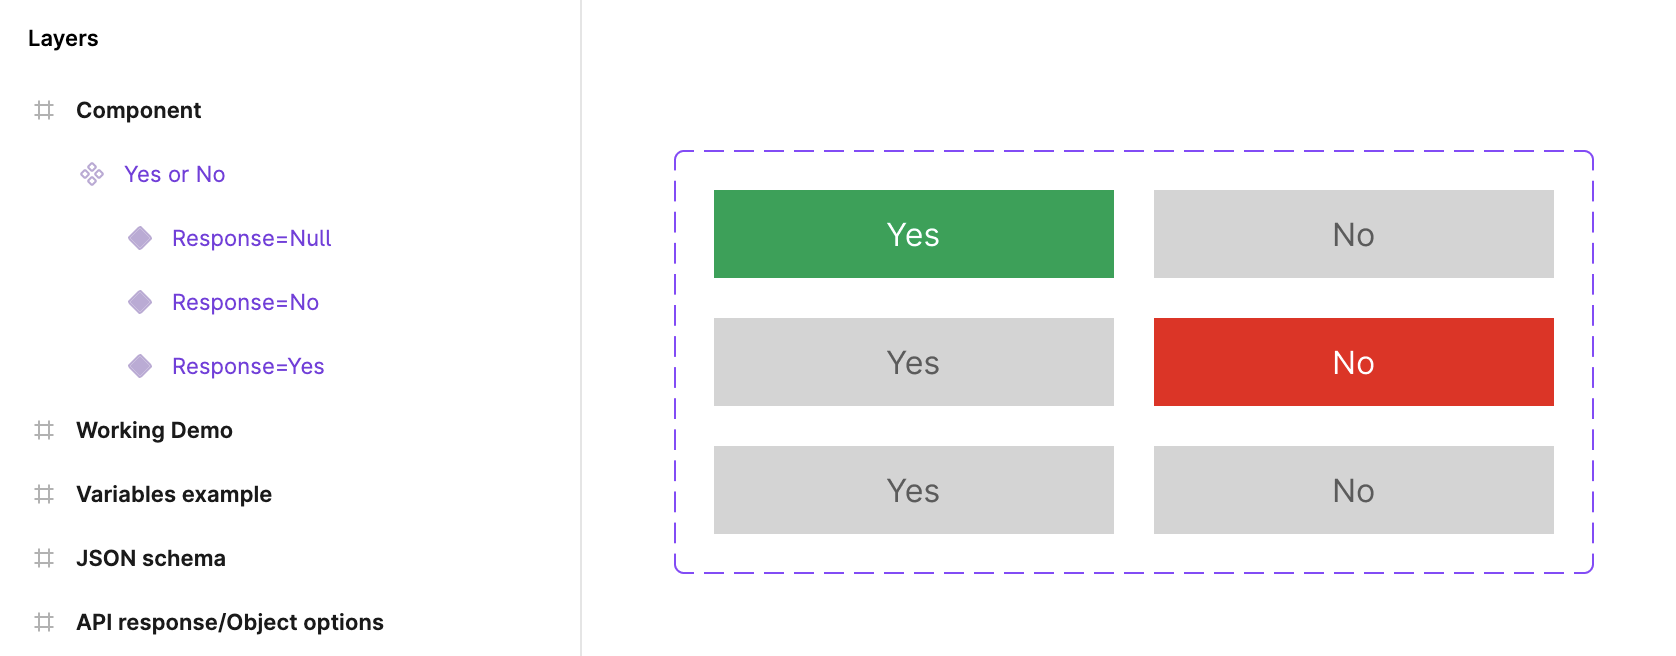
Let's create a component with three different variants: `Yes`, `No`, and `Null`. We need a `Null` variant to use before we make our first request or if we decide to reset the variable. These names can be upper or lower case, and you can name the variant property anything you like—for the purpose of this example we'll name it "Response".
 This requires knowing how to work with components and component variants. Read more about [working with components](/basics/working-with-components.mdx).
Click on "Local variables" in Figma's right panel (you may need to unselect a frame or node to see it). Create a new text variable called "Yes or No".
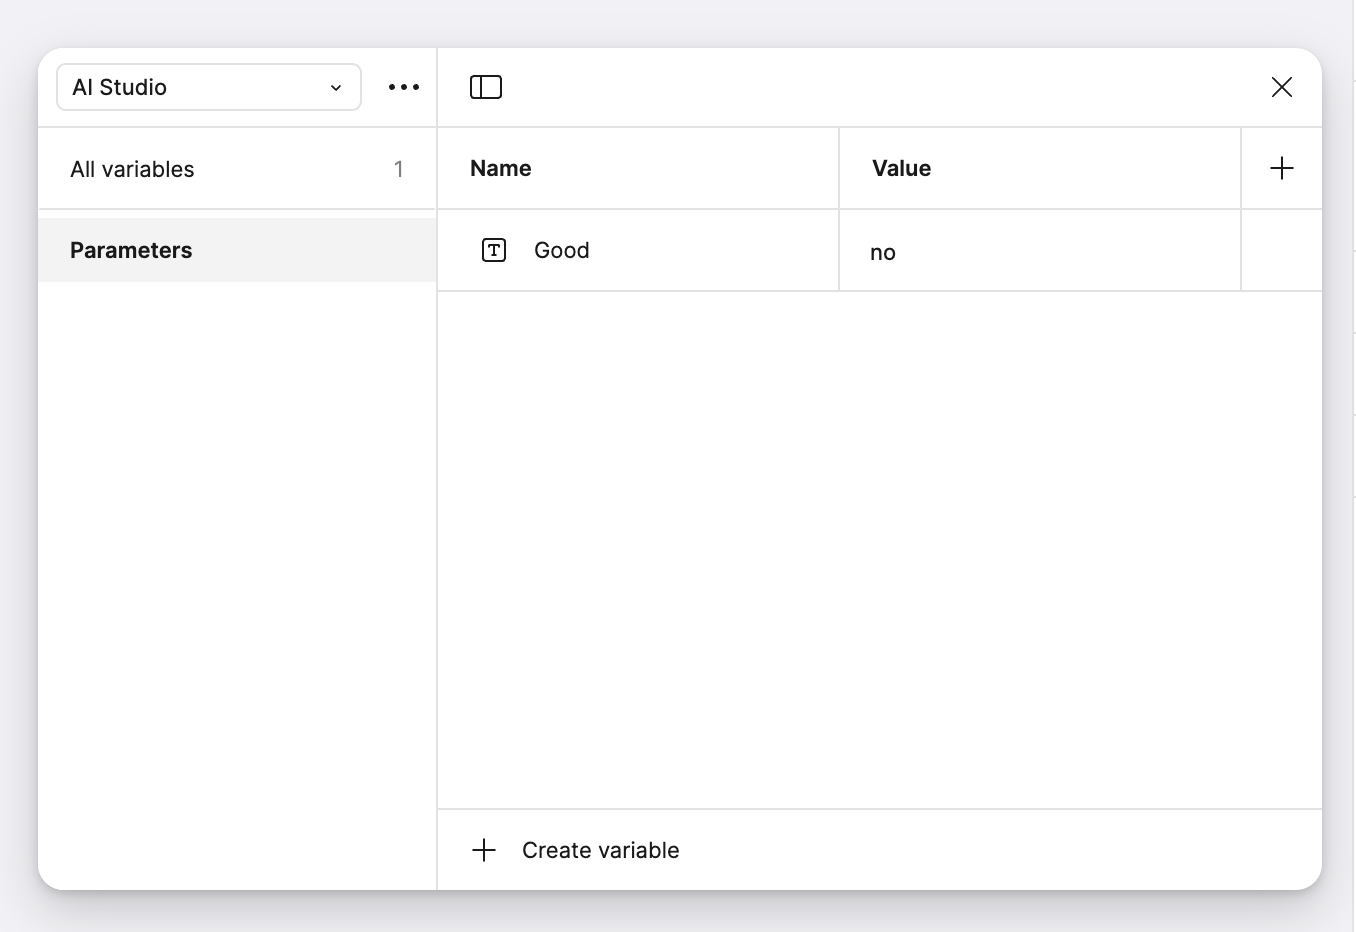 Create a local variables collection for AI to stay organized and make data easier to sync.
This will allow you to sync data with this instance and not the component itself.
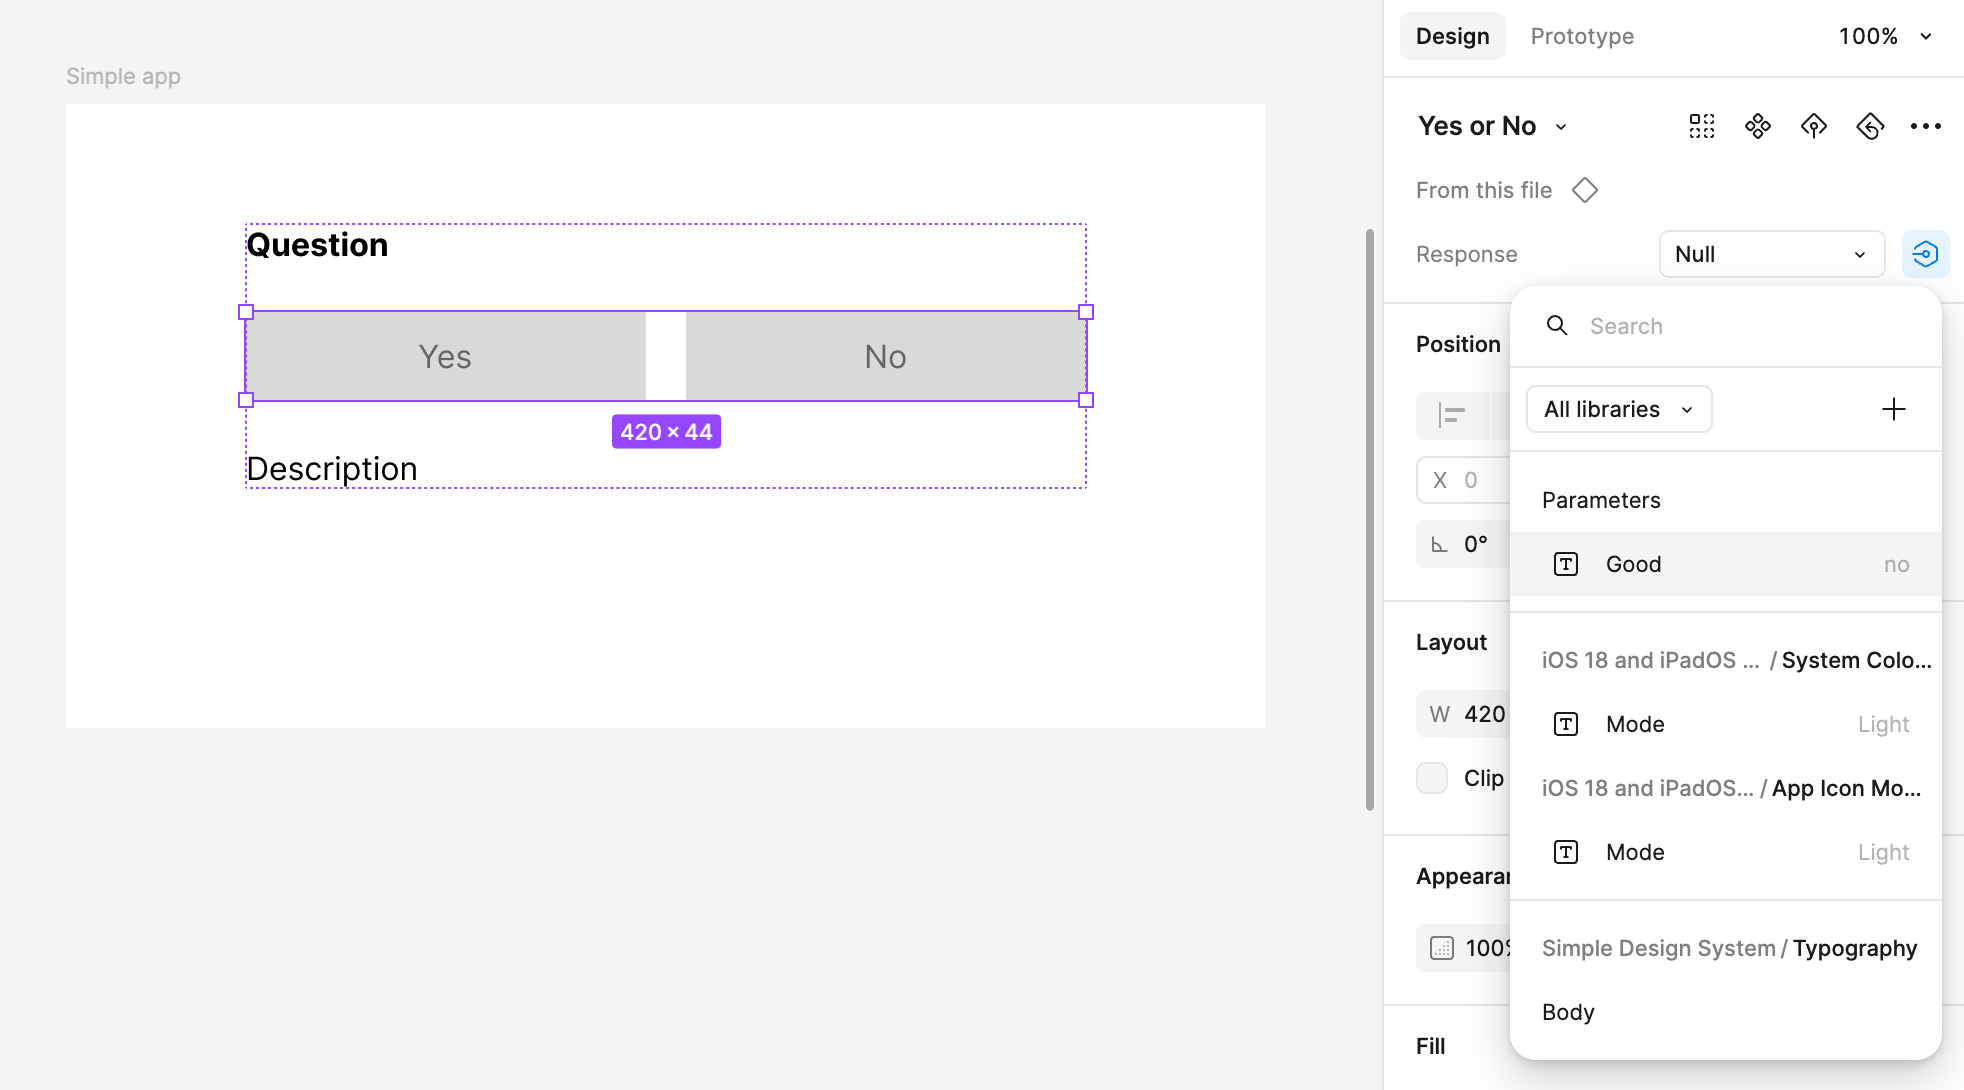 Make sure to apply your local variable to the component property (int this case "Response").
Select both text nodes and the component, then click to apply auto layout in Figma's right panel. This will ensure your design can adjust to varying levels of content. Learn more about [working with auto layout](/basics/working-with-auto-layout).
Once this step is done the traditional design work for this example will be complete.
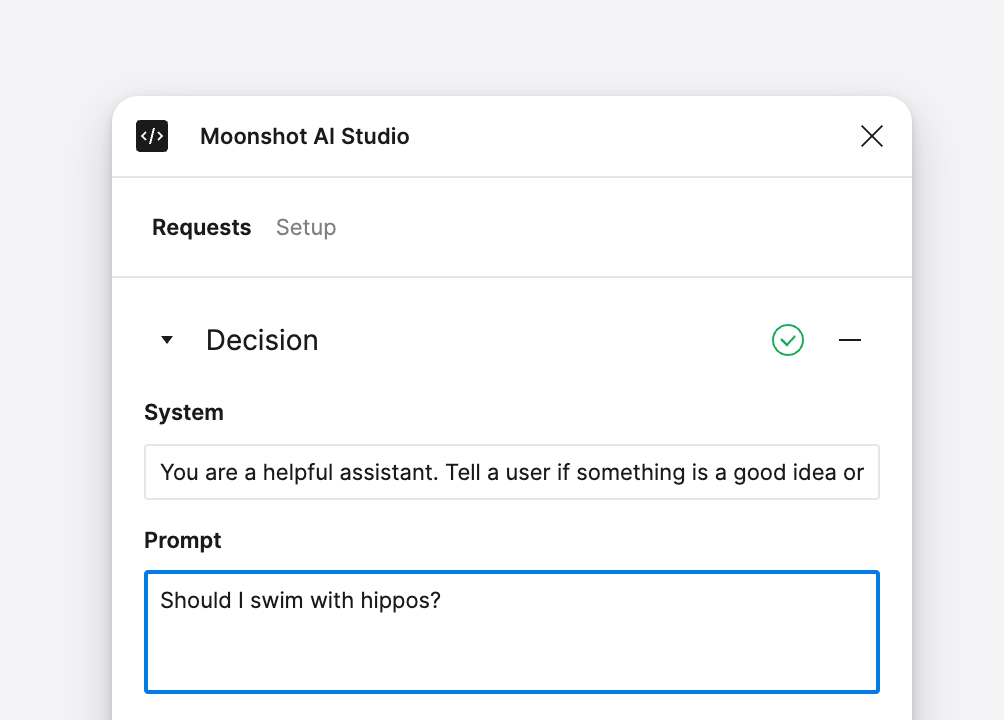
Run Moonshot AI Designer and create a request if none are created already. Give it a name and write out a directive for the **System** field that gives the model paramters to work with. Something like the following will work:
```text System prompt theme={"system"}
You are a helpful assistant. Tell a user if something is a good idea or not.
```
Next we'll define a structured JSON response to ensure data is reliably applied to your design after each request. To do this, click on "Define schema".
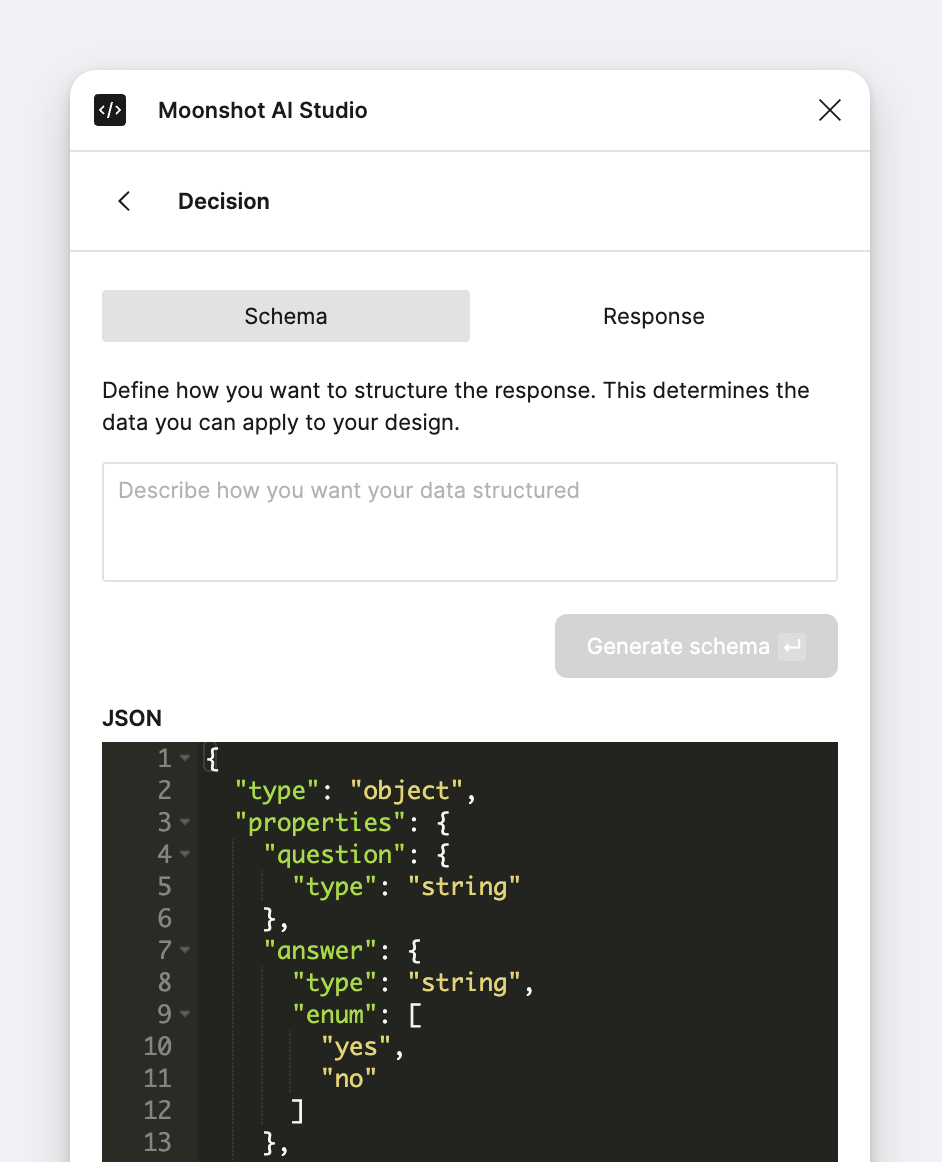 You can write your JSON by hand or use the prompt above the code field to generate one for you. For this example, feel free to copy and paste the following:
```json JSON schema theme={"system"}
{
"type": "object",
"properties": {
"question": {
"type": "string"
},
"answer": {
"type": "string",
"enum": [
"yes",
"no"
]
},
"description": {
"type": "string"
}
},
"required": [
"question",
"answer",
"description"
],
"additionalProperties": false
}
```
You can write your JSON by hand or use the prompt above the code field to generate one for you. For this example, feel free to copy and paste the following:
```json JSON schema theme={"system"}
{
"type": "object",
"properties": {
"question": {
"type": "string"
},
"answer": {
"type": "string",
"enum": [
"yes",
"no"
]
},
"description": {
"type": "string"
}
},
"required": [
"question",
"answer",
"description"
],
"additionalProperties": false
}
```
This will return your intial set of properties and accompanying data that you can then sync with your design. Ask a question in **Prompt** field and click "Make request".
 Once you get a request click on "View response" to view the data properties and values that you can apply to your design.
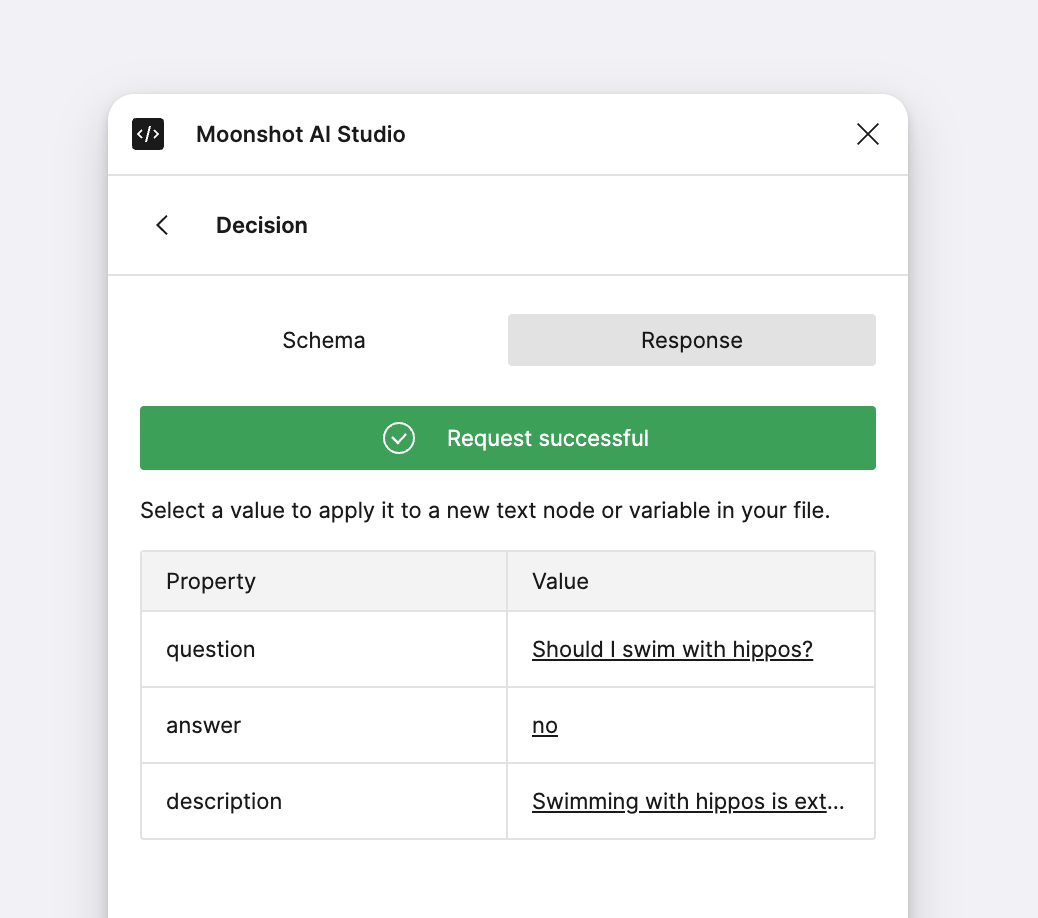
Click on a text node in your file and select the value you want to sync to it. You can also click on "View response" from the main Reqeusts view and then click on a response value and sync it with a text node or variable.
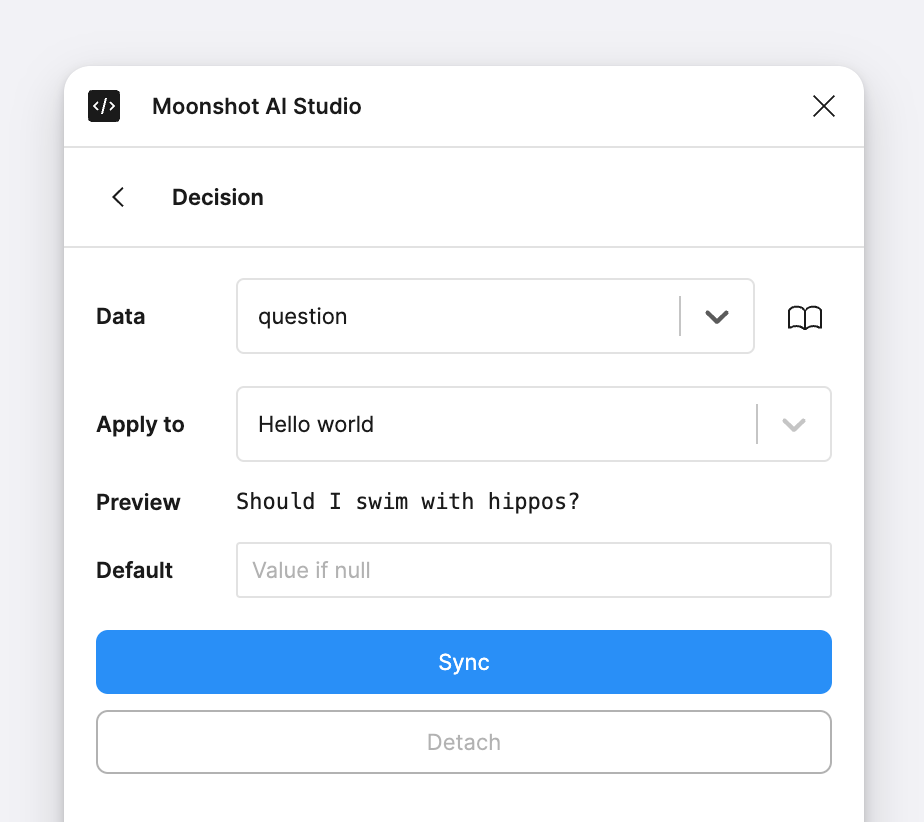 Repeat with the other text node in your design and the local variable that is read by your component.
Once you've synced response data with your design you can update your prompt in Moonshot AI Designer and make a new request to see your design respond to AI.